Campaign Wizard
The Campaign Wizard can be used in conjunction with the Coverage Rounding report as a means of reaching out to the organization client base for the purpose of cross selling, processing mass mailings etc.
To Access the Campaign Wizard
- Run the Coverage Rounding Report as shown in the Coverage Rounding Report topic.
- Once the report has been run, click the Details
 icon to access. The detail tab is displayed.
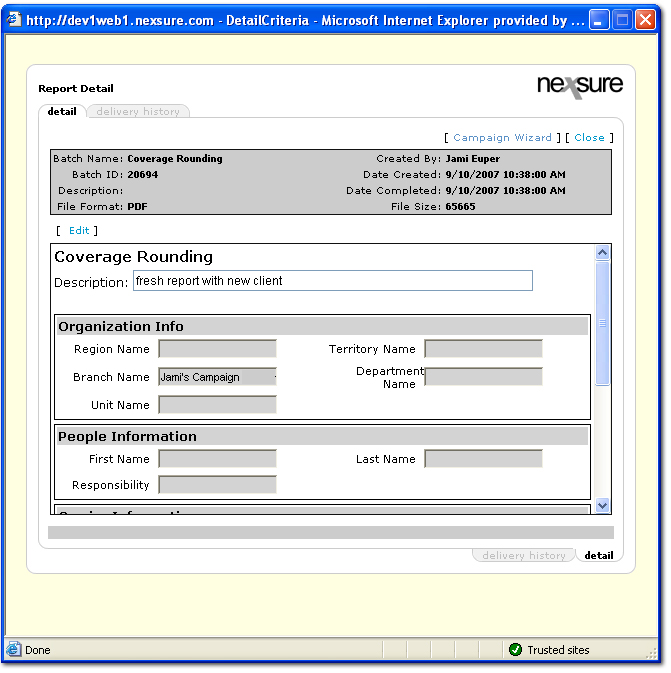
- On the detail tab, click [Campaign Wizard]. The wizard is displayed.
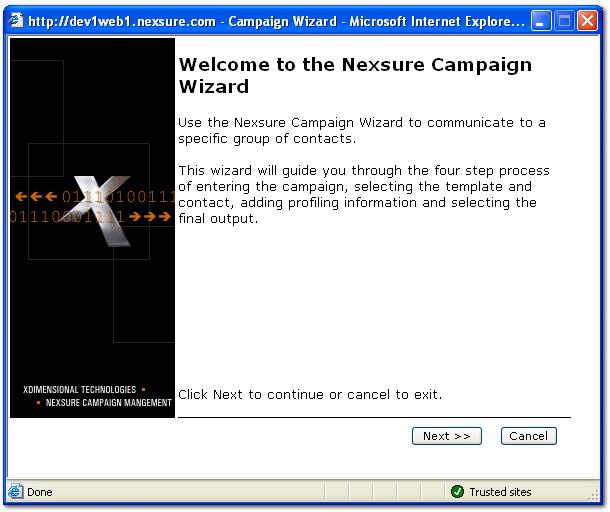
- In the welcome screen of the wizard, click Next to continue. The Enter Campaign Information dialog box is displayed.
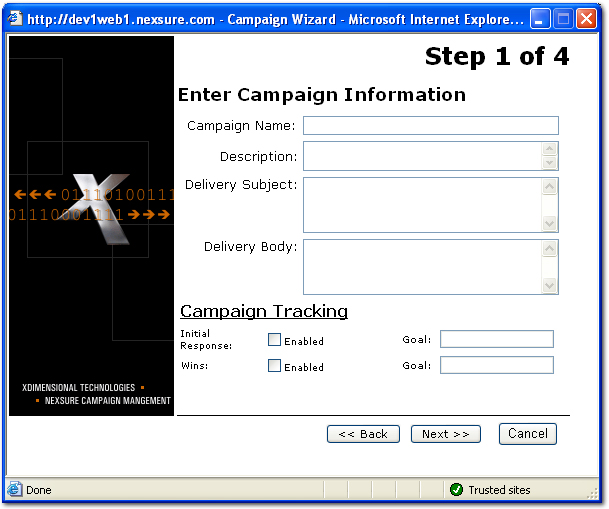
- In the Campaign Name box, enter a name for the campaign. This is a required entry.
- In the Description box, enter a description for the campaign. This is a required entry.
- In the Delivery Subject box, enter a subject line for the fax or email campaign deliveries.
- In the Delivery Body box, enter information to appear in the body of the fax cover sheets or email messages.
- In the Campaign Tracking area, make the following optional selections:
- Initial Response: These selections are used to track the number of customers who responded to the campaign solicitation. The tracking is completed on the Primary menu > CAMPAIGNS > campaigns tab.
- Select the Enabled check box to add a count function to the campaign.
- Once enabled, enter a Goal amount to indicate the number of desired or expectedresponses.
- Wins: These selections are used to track the number of actual sales made as a result of the campaign.
- Select the Enabled check box to add a count function to the campaign.
- Once enabled, enter a Goal amount to indicate the number of sales to attain for the campaign.
- Click Next to continue. The Select Template and Contact dialog box is displayed.
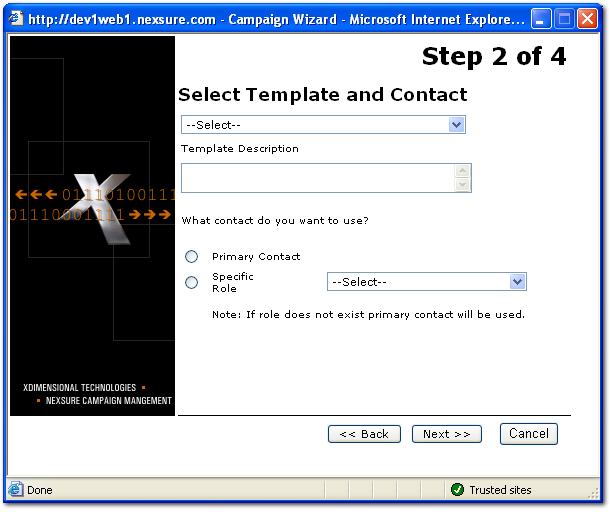
- In the select document template list, templates that contain the lines of business that correspond with the policies returned in the Coverage Rounding Report will be available for selection. The templates available have been added through SETUP > Document Templates during template creation.
- In the Template Description box, a description is displayed for the selected template. Descriptions are added during the template creation process that can be accessed in SETUP > Document Templates.
- In the What contact do you want to use? area, select either the Primary Contact or select Specific Role of the contact. The campaign letters will be addressed to the desired contact. If no selections are made, the letters will be addressed to the primary contact by default.
- Click Next to continue. The Add Profiling Information dialog box is displayed.

- Optionally, in the Add Profiling Information dialog box, click [Add Classified]. The Add Classification dialog box is displayed. The classified information will be added at the client level on the classified tab for all clients participating in the campaign. Only one classified will be added per client.
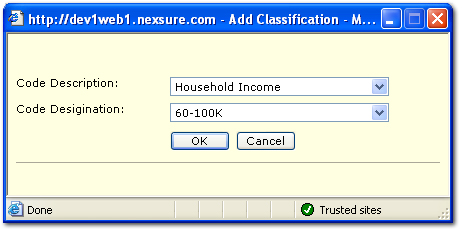
- In the Code Description list, select the classified code to add. These options are populated from the client class codes / designations in SETUP > Lookup Management.
- In the Code Designation list, select the code designation for the classified information.
- Click OK. The classification is added to the Add Profiling Information dialog box.
- Optionally, in the Add Profiling Information dialog box, click [Add Action]. The Action Items dialog box is displayed.

- In the Action Items dialog box, complete the options as explained in the Creating Actions topic. Be sure to select to whom the action will be assigned. The campaign name and the memo will be added to the action at the client level. An action containing the selected information will be added to each client who participated in the campaign. Only one action will be added per client for each campaign.
- In the Action Items dialog box, click OK. The new action is added to the Add Profiling Information dialog box.

- In the Add Profiling Information dialog box, the classifieds and actions are available for review. If a classified or action must be removed, select the item and click [Delete Selected] to remove.
- In the Add Profiling Information dialog box, click Next. The final summary of the campaign is displayed.
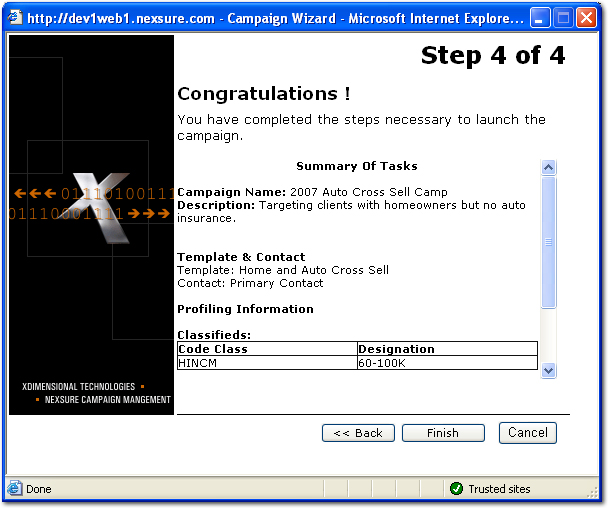
- Review the Summary of Tasks to confirm all selections made during the wizard process. Click Finish to complete the campaign wizard process.
Once Finish is clicked, the actions and classified selected, if any, will be scheduled to add to the specific clients within 24 hours of the campaign being finished.
Or
Click Cancel to cancel the entire process.
Or
Click Back to return to the previous wizard screen to make modifications.
- Once the Campaign Wizard is completed, Nexsure Agent will open in the notification area.
Note: If a newer version of Nexsure Agent is available, prompts are displayed to download the newer version.
- From the notification area, right-click on the Nexsure Agent
 icon. The Nexsure Agent menu is displayed.
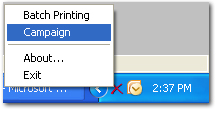
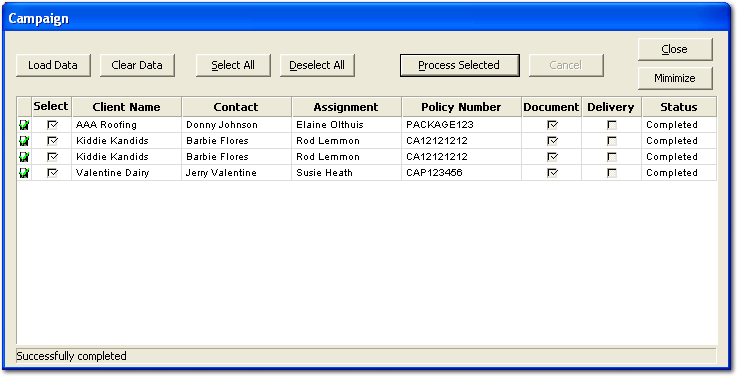
- In the Nexsure Agent menu, select Campaign. The Campaign dialog box is displayed.

- In the Campaign dialog box, click Load Data. The data from the Coverage Rounding report is added to the Campaign dialog box.
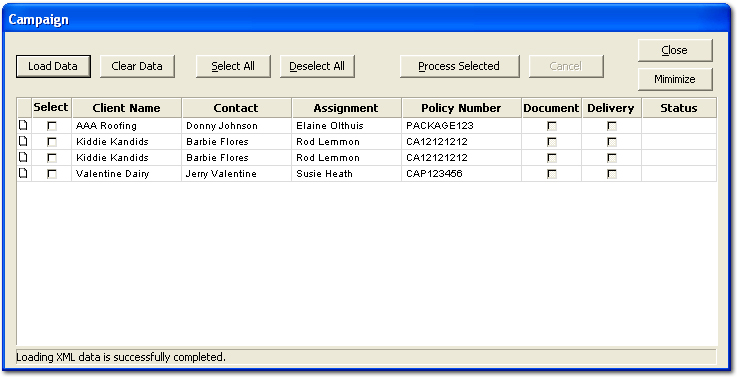
- Once the data is loaded, clients may be chosen to participate in the campaign by selecting the Select check box.
Note: Data loaded in the Campaign dialog box may differ from the Coverage Rounding report. The Coverage Rounding report data is organized by client name whereas the campaign may return several matches per client and is organized by policy.
- The following options are available in the Campaign dialog box:
- Load Data: Loads all clients according to the criteria from the Coverage Rounding report.
- Clear Data: Clears the Campaign dialog box.
- Select All: Select all check boxes for all clients returned.
- Deselect All: Clears all selected check boxes.
- Process Selected: Begins the campaign process for selected clients. At his point in the process the actual campaign documents will be created.
- Cancel: After the Process Selected button has been clicked, the Cancel button may be used to stop the process.
- Close: Closes the Campaign dialog box.
- Minimize: Minimizes the Campaign dialog box back to the notification area.
Note: At this point the initial setup for the campaign is complete. The Campaign dialog can be minimized and opened again at a later time by right-clicking on the Nexsure Agent icon and selecting Campaign.
- Once Process Selected has been clicked, The Select Output / Delivery Options dialog box is displayed.
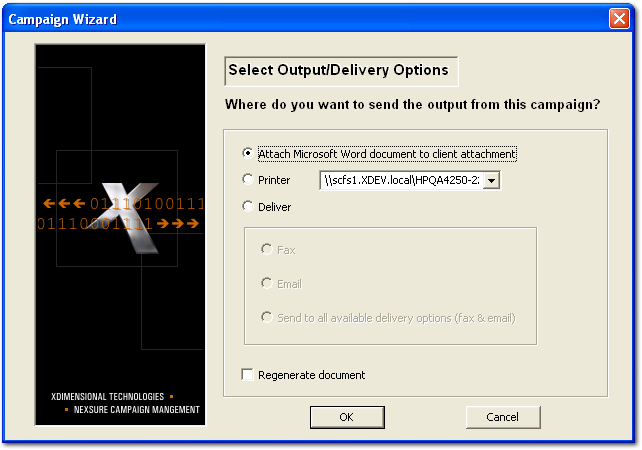
- The following options are available in the Where do you want to send the output from this campaign? area:
- Attach Microsoft Word document to client attachment: Generates all campaign documents in Microsoft® Word. The documents can be found on the client level attachments tab.
- Printer: Sends all campaign documents to the selected printer.
- Deliver: Automatically sends campaign documents via the delivery method selected below.
- Fax: Faxes all campaign documents to the selected contact's fax number.
- Email: Emails all campaign documents to the selected contact's email address.
- Send to all available delivery options (fax & email): Emails and faxes all campaign documents to the selected contact. If only an email or fax number are available, the available delivery method will be used.
- Regenerate document: Nexsure is programmed to add only one instance of the campaign document to the client attachments tab. If the campaign document template has been updated or changed, Regenerate document can be selected to add the newer version of the campaign document to the client attachments tab. The older version will also remain available.
- Click OK. The campaign documents are generated and the deliveries are processed. Since this can be a large process if many clients are selected, running this process on a secondary workstation is recommended.
Or
Click Cancel to return to the Campaign dialog box.
- Once the process is complete, in the Campaign dialog box, click Close.
Note: Once a client participates in a campaign, the campaign is recorded on the campaigns tab in the client profile. When a client responds to the campaign, their response can be recorded on this campaigns tab. Once responses are recorded in each client record, the total response numbers for the entire campaign are displayed on the Primary menu > CAMPAIGNS > campaigns tab. If Nexsure Agent has been exited, clicking the Details icon next to the campaign and clicking the Reload Campaign button can be used to again access the campaign.
Campaign Management
Coverage Rounding Report